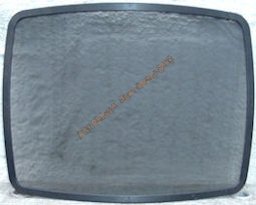
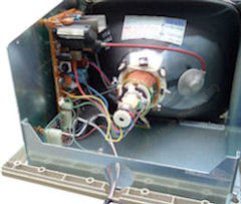
To attain the high level of clarity of characters on the screen a micro-mesh is fitted over the face of the CRT. As the years go by this micro-mesh becomes clogged with dirt and impairs the clarity of the characters displayed on the screen. Unless your screen has been cleaned recently you are not seeing the full capabilities of the monitor.
Do not wipe the micro-mesh with a cloth or any other type of material or spray it with any of the glass cleaners on the market today. This will result in clogging the micro-mesh and rendering the view screen impossible to read and may damage the micro-screen beyond repair.
The only way to really clean the screen without damage is to dismantle the monitor to remove the micro-mesh as detailed below.
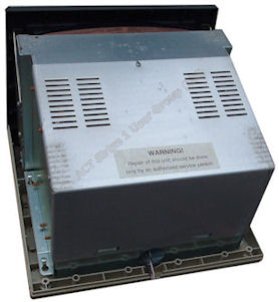
WARNING
Read the warning label attached to the CRT.
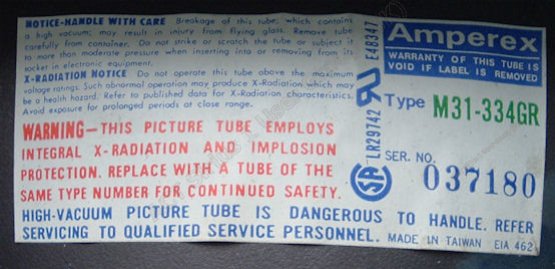
Any doubts do not attempt the procedure but ask a competent person to do it for you using this guide.
DISMANTLING
Tools need for this job is a crosshead screwdriver, a container for the removed screws and a firm work surface such as a bench or stout table.
Optional tools are a soft paint brush and vacuum cleaner.
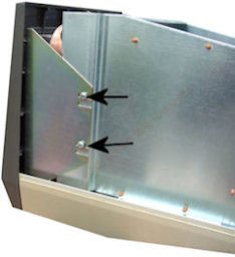
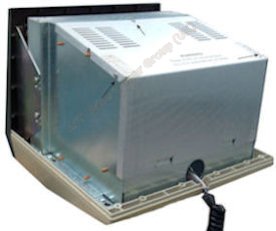
Placing the monitor on its face and with the base of the monitor towards you remove the two screws that secure the top and base sections.
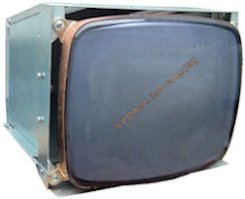
Gently push the top case section away from you to seperate the two sections and lift off the casing. Turn the monitor back on its base with the screen facing away from you.
To re-assemble the monitor is the reverse of the above procedures. Be sure to align the micro-screen as it was originally and use the correct screws in the correct positions. Do not force any parts into place.
Last Update 12/04/2011